 |
| The finished product. Aren't they lovely? |
 |
| You will need atleast one bag of this moss with backing. I found this at Michaels for around $5 |
 |
| I ordered my wood letters online but I'm sure you can find them at your local craft store. I chose the standard font and sizes 18 inch and 22 inch. I have seen many at 12 inches, but the beauty of this project is that you can choose how you want your letter: the size and font is up to you! |
 |
| I cut the moss to fit over the front of the letter and along the sides with about 1/2 inch overhang. Using a hot glue gun, attach the moss directly to the wood. Be generous with the glue so that you don't have "pockets" where it's not attached and bubbles up. I glued the front of the "L" first before starting on the sides and back. |
 |
| If you are covering the whole letter, front and back, glue the sides coming from the back of the letter first. |
 |
| Then add more glue directly onto the moss and glue the moss from the front onto the moss that is already glued down, overlapping it. This is so any seams or edges that are showing will be on the back of the letter, not visible at all. |
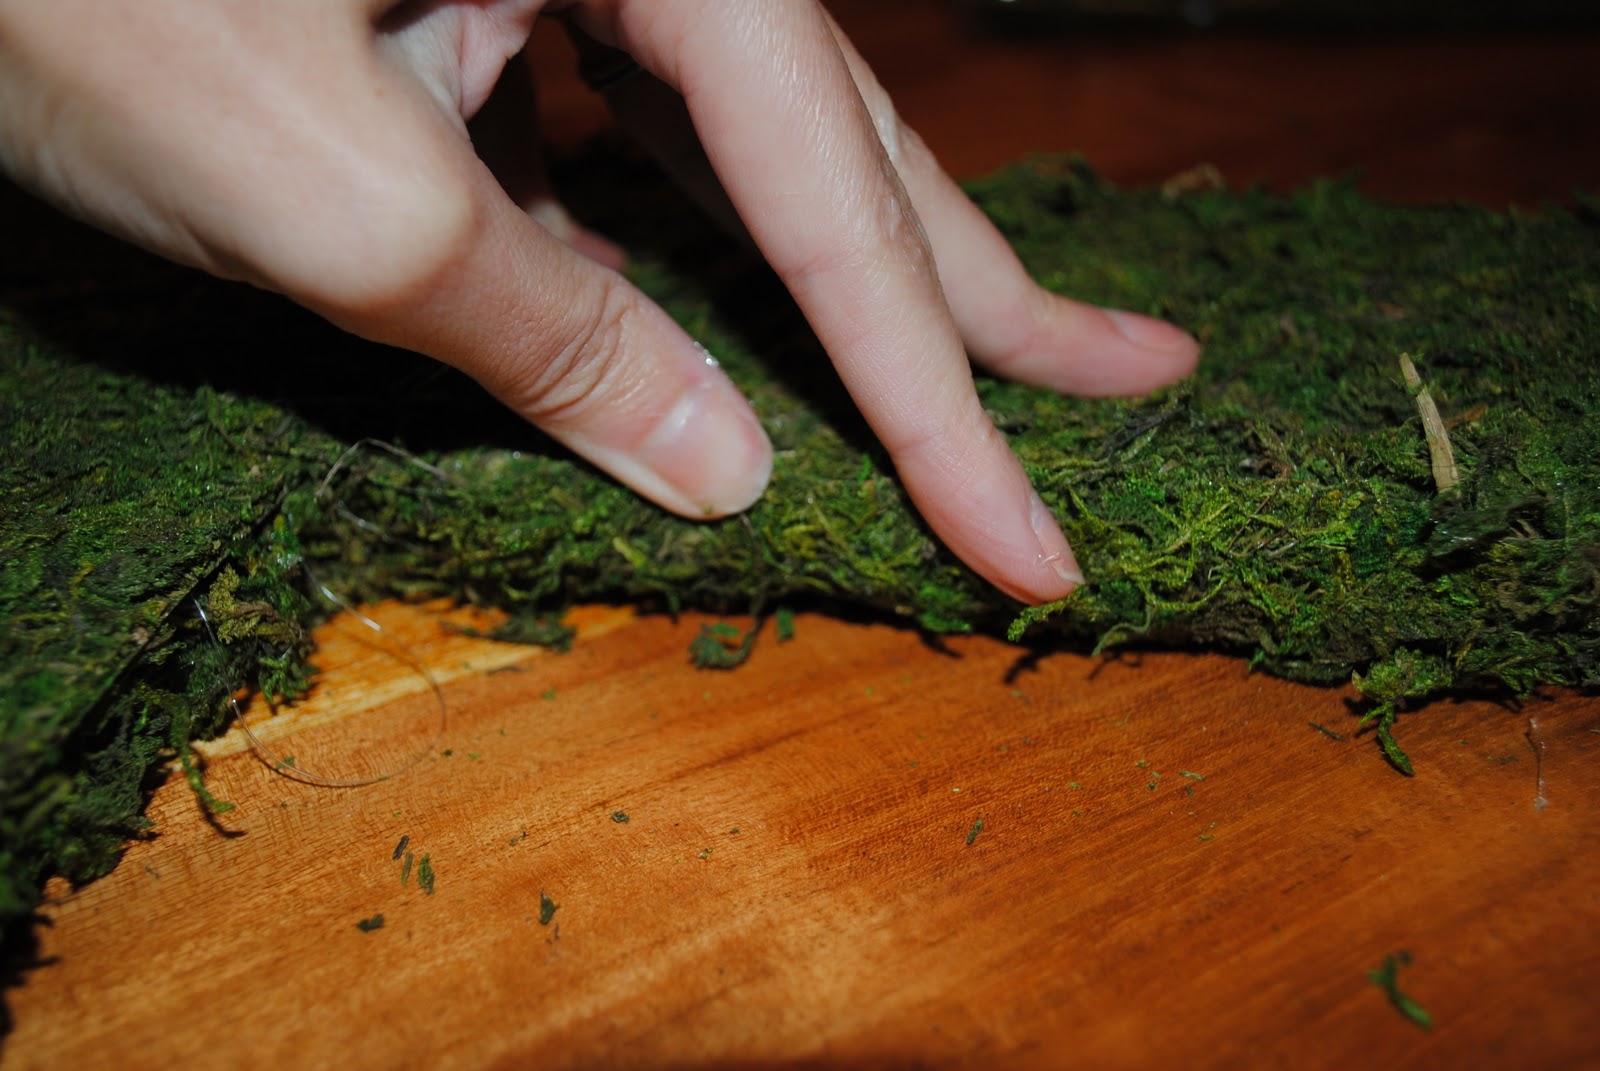 |
| Make sure you press down firmly so the top layer of moss attaches fully to the bottom layer. |
 |
| Keep pressing until the glue has cooled. |
 |
| Once you are finished, attach a hanger to the back directly to the wood. |
 |
| Or through the moss/wood if you have covered the back fully. |
 |
| Add ribbon and hang! Or just place on a mantle, etc! |
No comments:
Post a Comment